Bikepacking Repair Kit: In Case of Emergency
February 20, 2020
“Anything that can go wrong will go wrong.” This famous phrase, oft repeated by engineers, is known as Murphy’s Law. Like any good adage that has stood the test of time, it states a simple truth in order to impart a larger message. The truth, of course, is that life is unpredictable. The lesson: the only way to combat unpredictability is to prepare for it.
As bikepackers, we embrace the unknown, and relish the unforeseen. No worthwhile adventure ever goes off without a hitch. The difference between overcoming a challenge and bailing boils down to your ability to handle the situation. While many of these bikepacking repair kit items overlap with general cycling repairs, it’s important to note bikepacking is a different type of riding. When you add 40 lbs of gear to your bike and riding singletrack for a week, things break more often and new problems arise that you might not see day-riding your local trails. To this end, we’ve put together the following commentary on a good bikepacking repair kit, detailing everything you’ll need for the most common trailside bikepacking repairs.
Bike & Bag Repairs
You don’t have to be a professional mechanic to know your way around your bike. The truth is, bikes are simple machines and the skills required to maintain and repair them are easily learned. Ask a friend, or inquire at your local bike shop, and practice what you learn before you head out on a big trip.
Remember, all the knowledge in the world won’t help if you don’t have the right tools, so take the time to assemble a solid repair kit and pack it somewhere accessible. Check out our Medic top-tube bag for an easy solution for stashing your bikepacking repair kit.
Flat Tire
By far the most common repair for any cyclist is the flat tire. Fortunately it’s a quick fix. If you’re running a tubeless setup (and you should be), you are less likely to get a flat, but the repair is more involved if you do. Remember that you can always install a tube if you can’t seal a tire puncture. We often get asked how many tubes we like to pack on a trip. Our answer is always the same – you have two tires, so pack two tubes.
Any wheel (tubed or tubeless)
- Two spare tubes (make sure it’s the right size/valve)
- Tire levers (two of ‘em)
- Pump (compatible with your valves)
- Tire boot
- Nipple wrench (to true wheels)
- Replacement spokes. Your bike will ride heavier loaded with gear and broken spokes are more common than when trail riding. Be sure to have the right length spokes for the drive-side and non drive-side of each wheel.
Tubeless Wheels
- Sealant (don’t mix and match brands)
- Tire plugs and tool
- Spare valve core
- Valve core tool
- Suture needle and Dental floss (to stitch up side wall tears)
- Super glue
Broken Derailleur Hanger
The derailleur hanger is the little piece of metal that connects the rear derailleur to the bike frame. It is super malleable, designed to bend on impact to avoid damaging the frame. Hangers are replaceable and very specific, so make sure you get a spare that is right for your bike.
- Spare derailleur hanger (make sure it’s the right one!)
- Multitool
Broken Chain
It’s not uncommon to blow a link from time to time. Figure out how many speeds your chain is (it’s the same number as your cassette) and then determine whether it uses a pin or a master link to connect. A great way to avoid broken chains is to keep it well lubricated and monitor the wear as you pile on the miles. For bikepackers doing big routes, chain lube should always make the pack list.
- Chain lube
- Spare links or pins
- Chain breaker tool
- Chain pliers (only necessary to remove master links)
Busted Bags
Your bags are just as important as your bike. The first line of defense is investing in a quality set of bags. But when things do need to be fixed or adjusted be prepared to quickly handle those problems.
- An extra cam-buckle. These most commonly break during a crash.
- Voile straps. The 25″ length is the most versitale and can be used to support overstuffed saddlebags/handlebar bags.
- Needle and thread. To repair holes in fabric from a crash and double as repair items for tire sidewall tears.
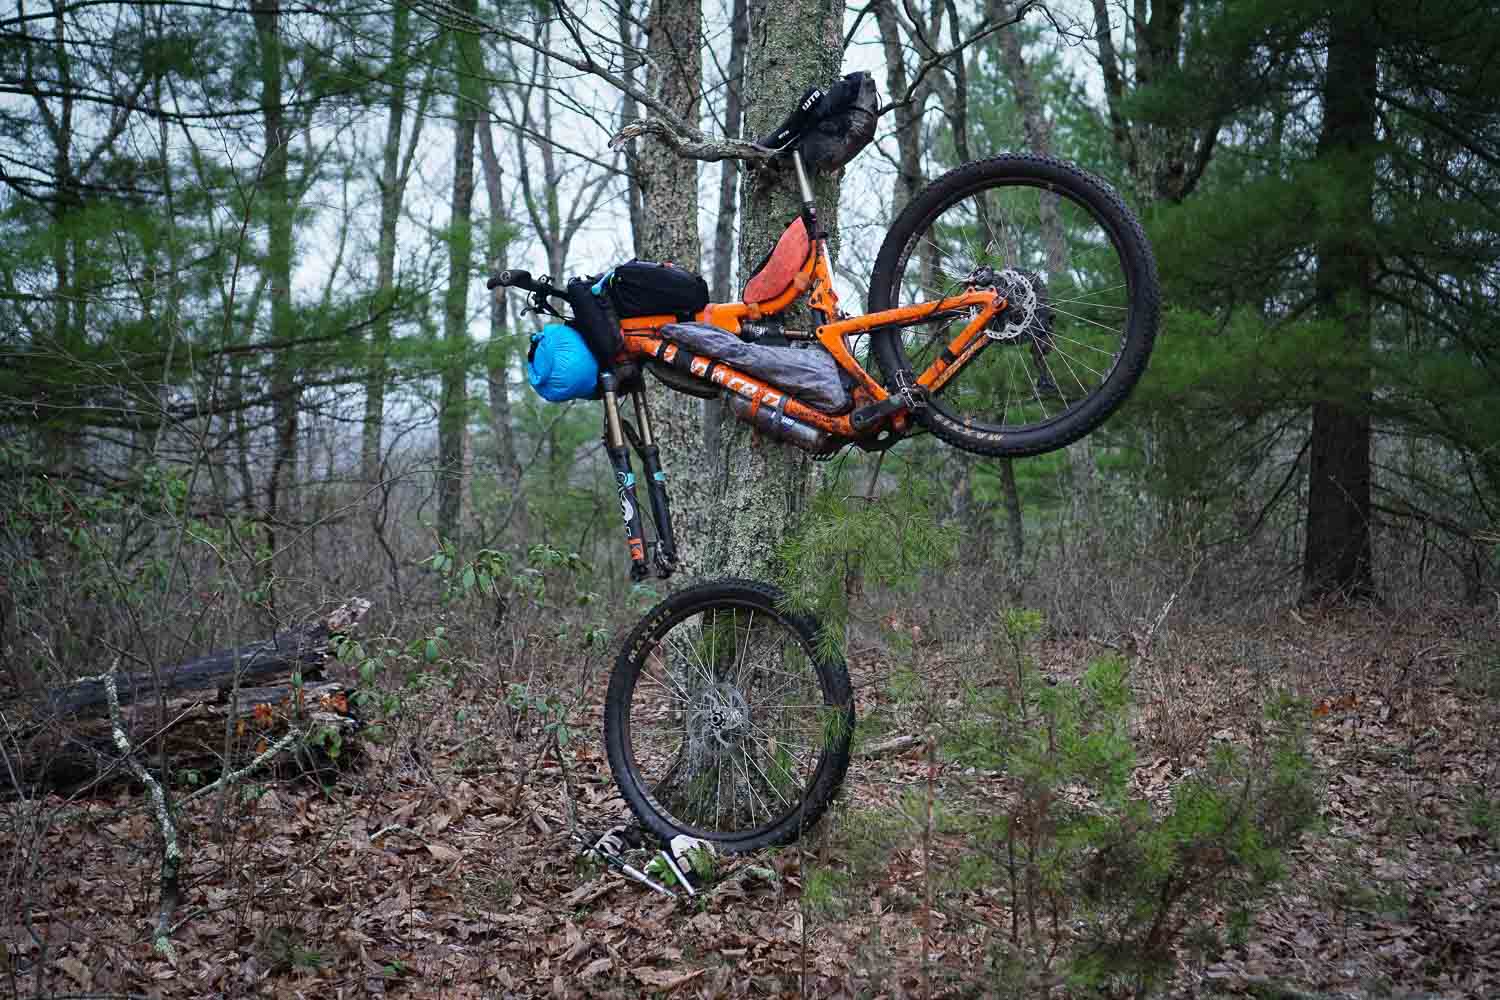
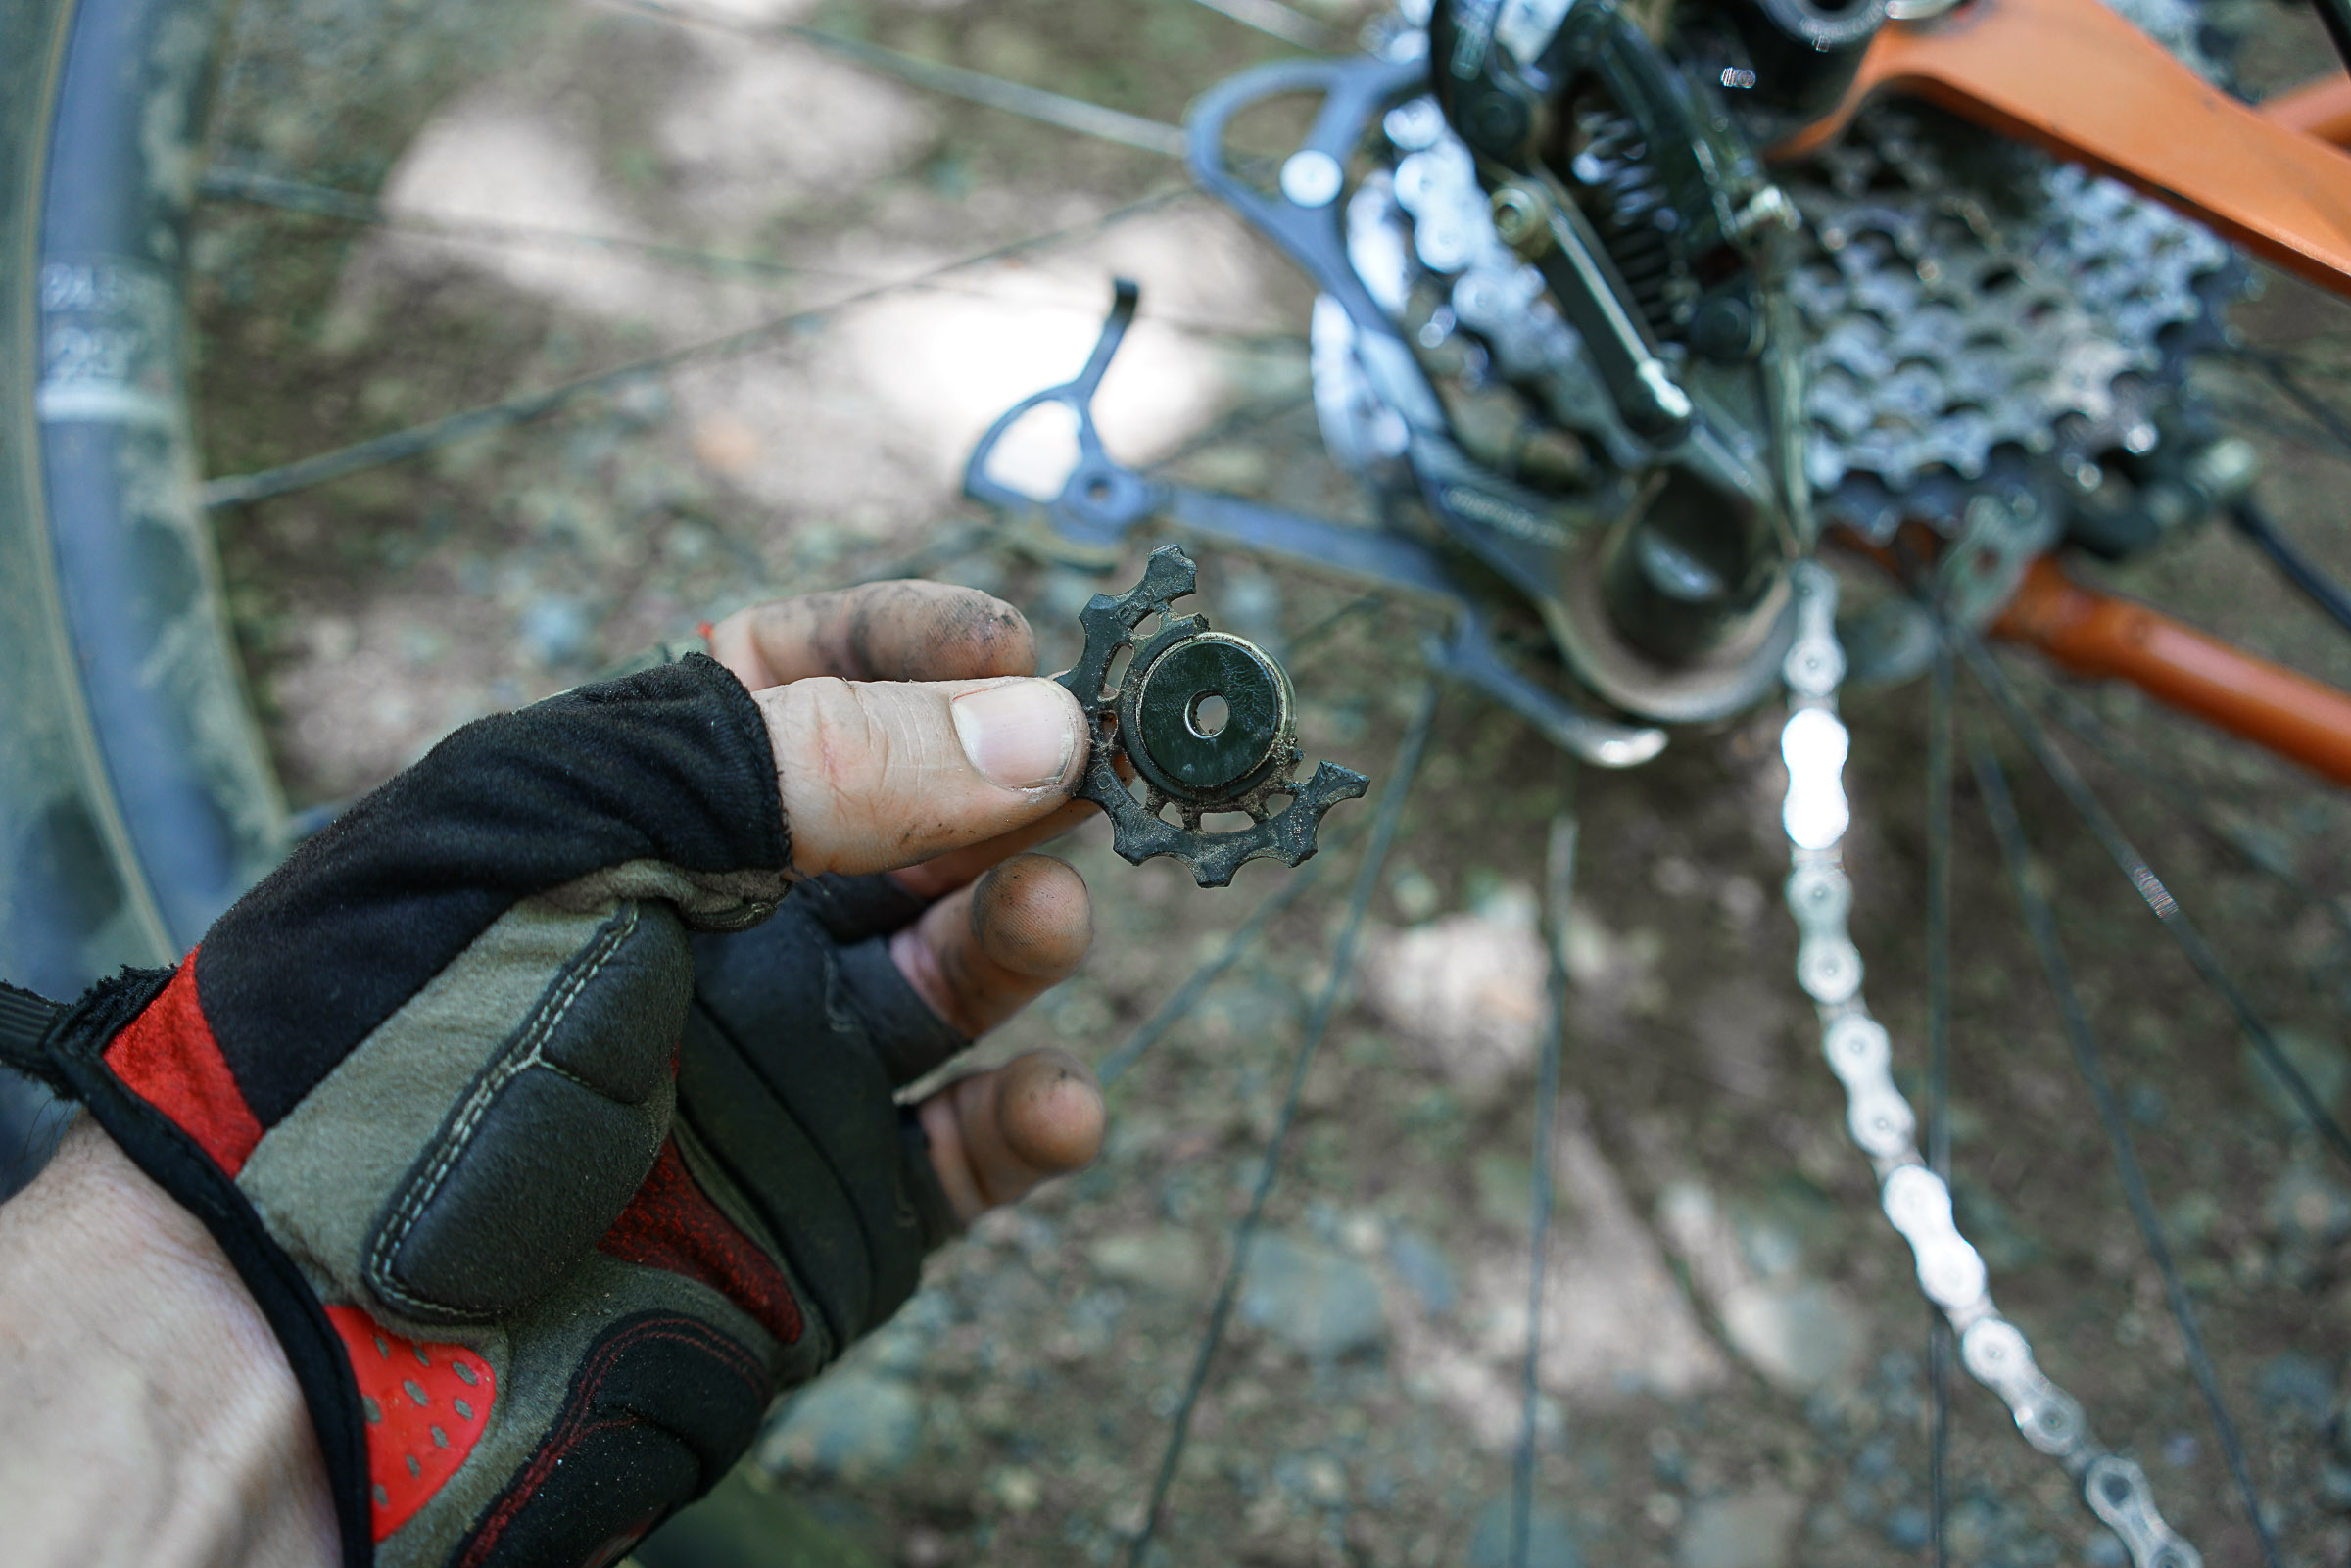
Bad Breaks
There is always a category of repairs that are rare, but do happen. In most of these instances its helpful to have spare parts when possible but sometimes we just get unlucky and have to limp out of the woods with a broken bike. On longer trips, spare parts like brake pads, pulley wheels, spokes, derailleur cables, M5 bolts, and other small replacement parts are almost always packed. But for shorter trips, sure, we probably take the chance we won’t need those items. I’ve been burned before with this approach. Below is a broken pulley wheel during my scouting ride of The Revival S24O. I thought, “It’s only a two-day trip, what could go wrong?” – Greg
Body Repairs & Maintenance
Just like your bicycle, your body is a machine, and it requires regular maintenance and the occasional repair to keep it going. A basic understanding of nutrition and wilderness first aid goes a long way, as does having the right supplies to address common issues. Prevention is always the best medicine, so drink before you get thirsty, eat before you get hungry, and address discomfort before it becomes pain.
Discomfort usually comes from the three contact points to your bike: your butt, hands, and feet. So take the time to find gear that works well for long days in the saddle. This is where shorter trips and single overnights are so helpful for finding the gear that works for you.
Bonking
A fun-sounding word for a very unpleasant situation, “bonking” describes a sudden loss of energy or mental focus. The science behind endurance sport nutrition is worth looking into, but the basic idea is to eat small amounts at regular intervals while you ride. We know bikepackers who keep emergency Starburst in their seat tubes, but if you’re looking for a more accessible storage solution checkout our Honeypot and Honeybox feedbags.
- Nuts
- Chocolate
- Apple slices
- Sport gels/blocks/beans
- Granola bars
- Canned sardines
- Dried fruit
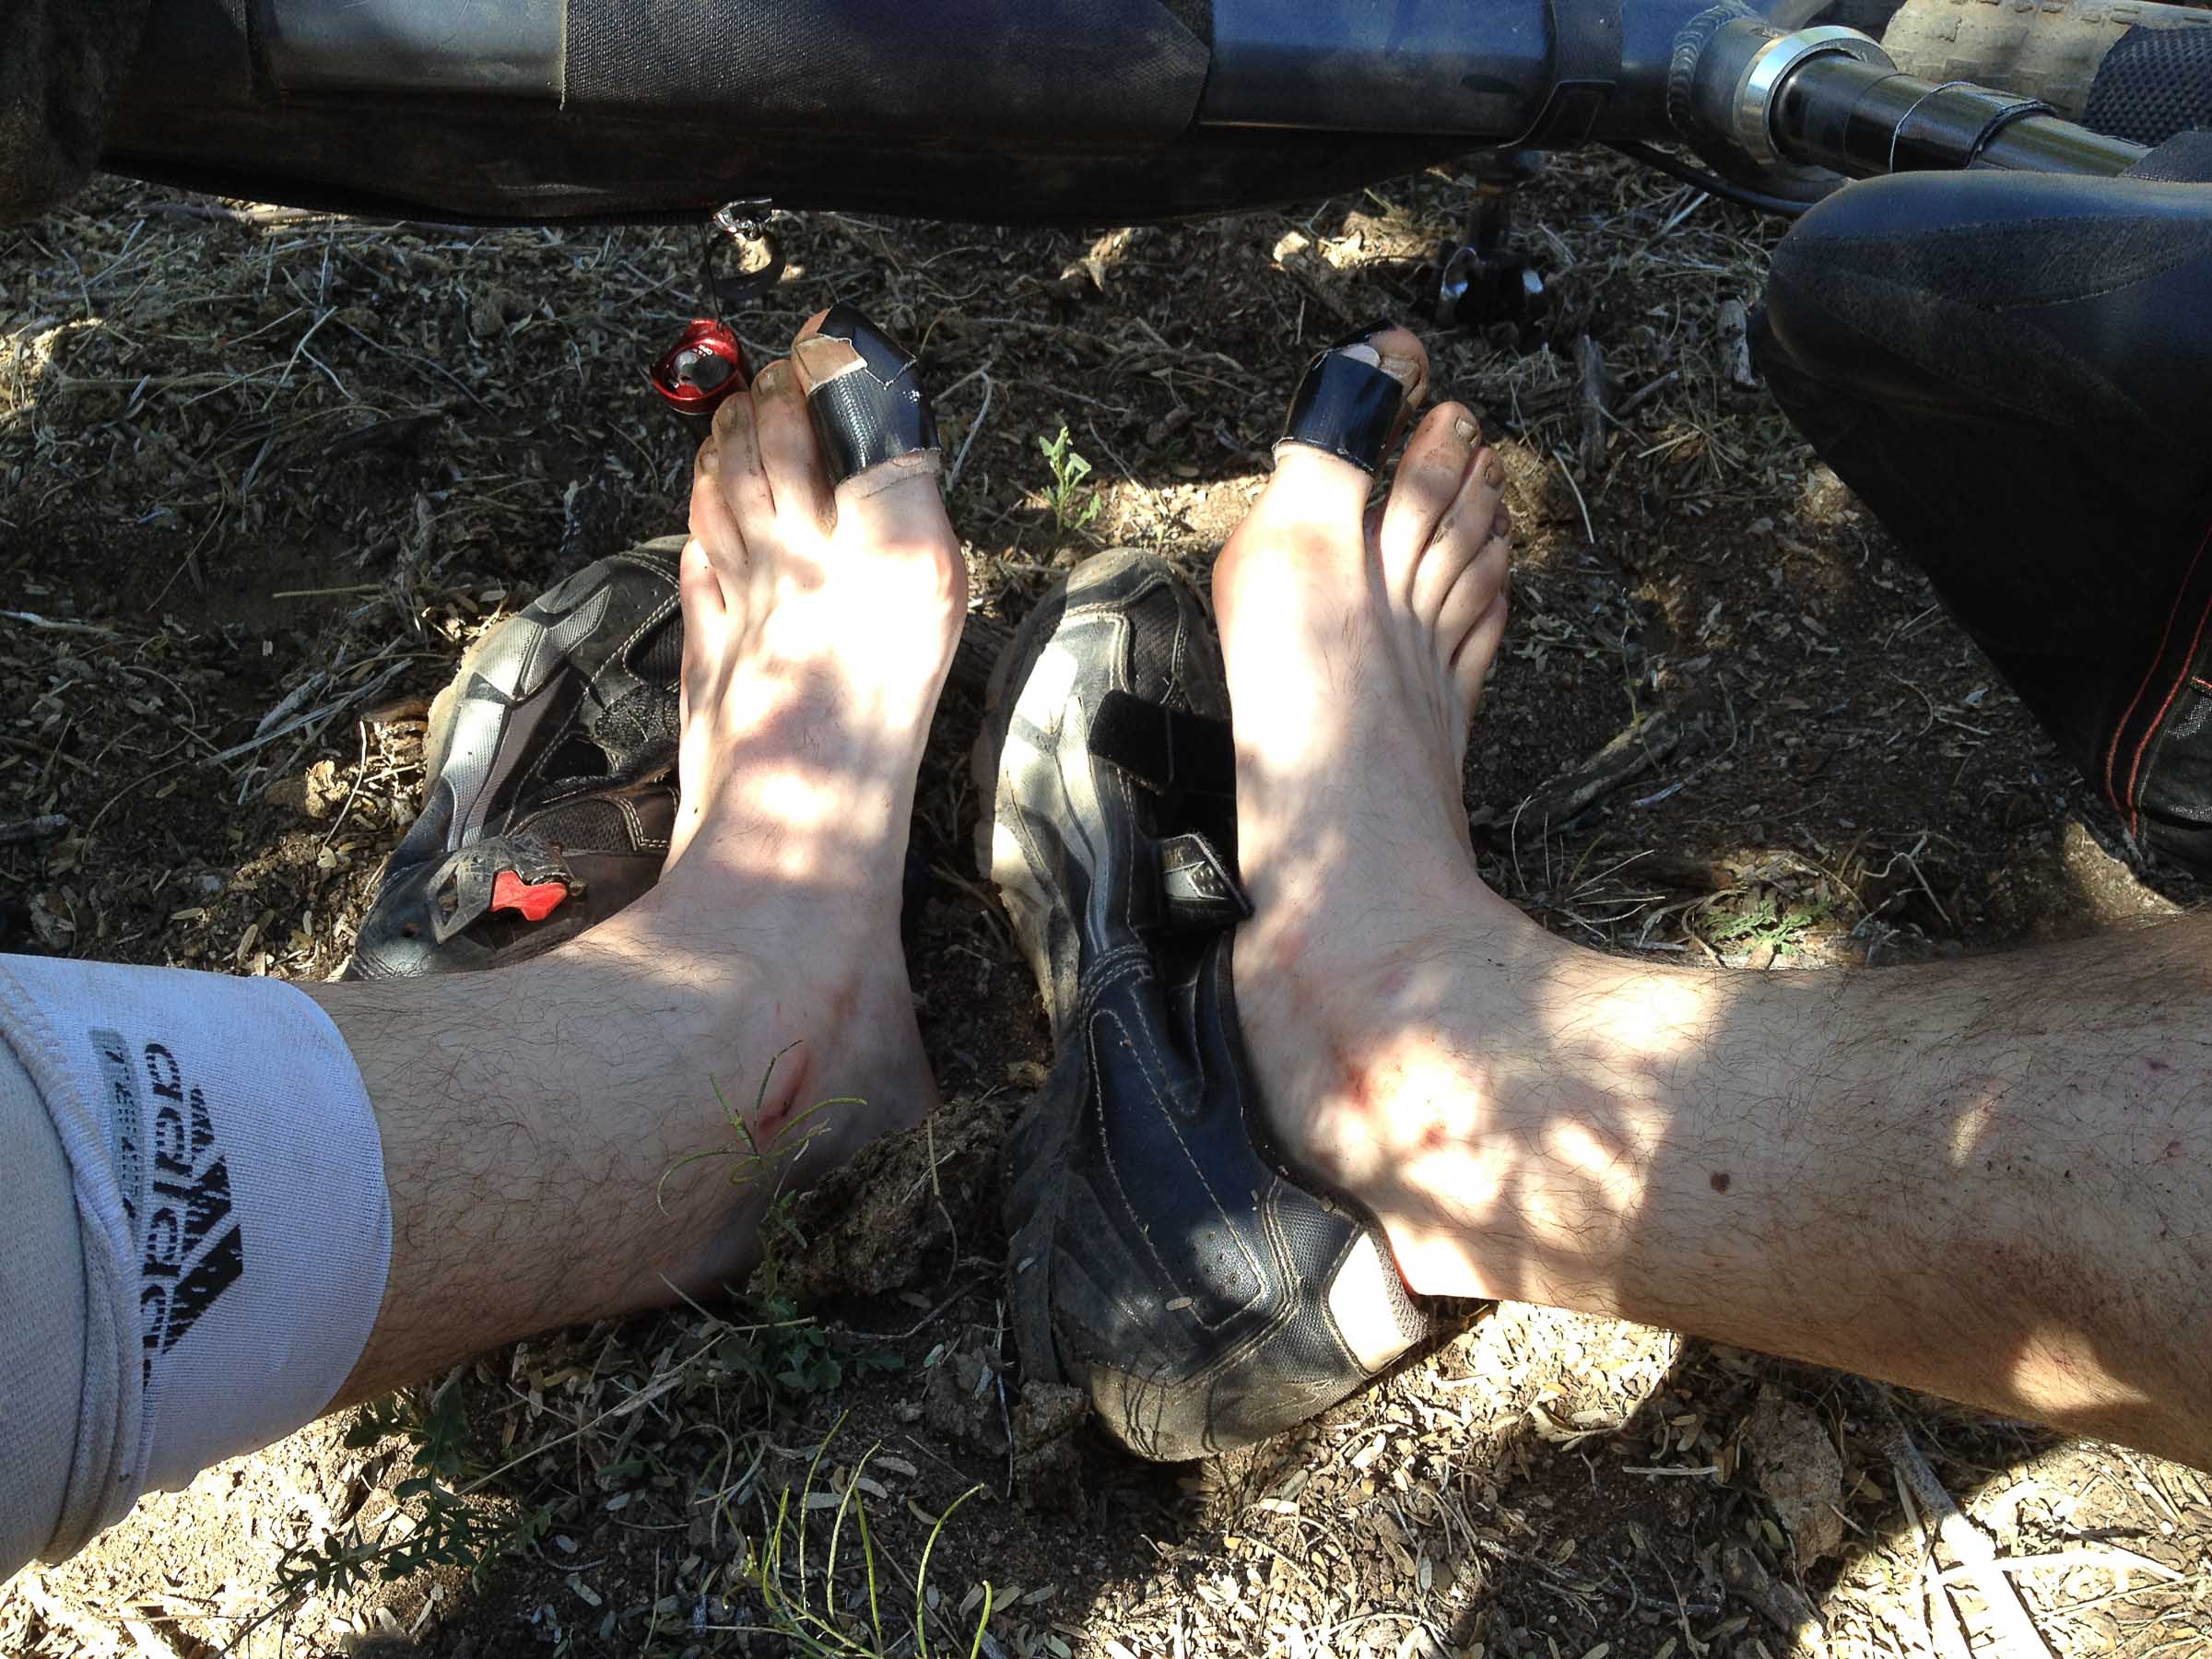
Saddle Sores
A common affliction for cowboys and cyclists alike, saddle sores can develop into seriously painful abscesses if left untreated. Choosing a saddle that fits you properly is key. Do your best to keep your sit area dry and clean (use baby wipes). On longer trips, bring at least two chamois and rotate them day to day.
- Cycling shorts with chamois
- Chamois butter or petroleum jelly
- Baby wipes
Lacerations and Abrasions
A laceration is a cut through the skin, while an abrasion is an area where the skin has been rubbed away (skinned knee or blisters). Minor wounds are easily treated with some basic first aid supplies. Prioritize keeping the wound clean and covered to avoid infection.
- Hand sanitizer
- Irrigation syringe (for flushing wounds)
- Assorted bandages
- Trauma pads/gauze
- Medical tape
- Neosporin
- Mole skin
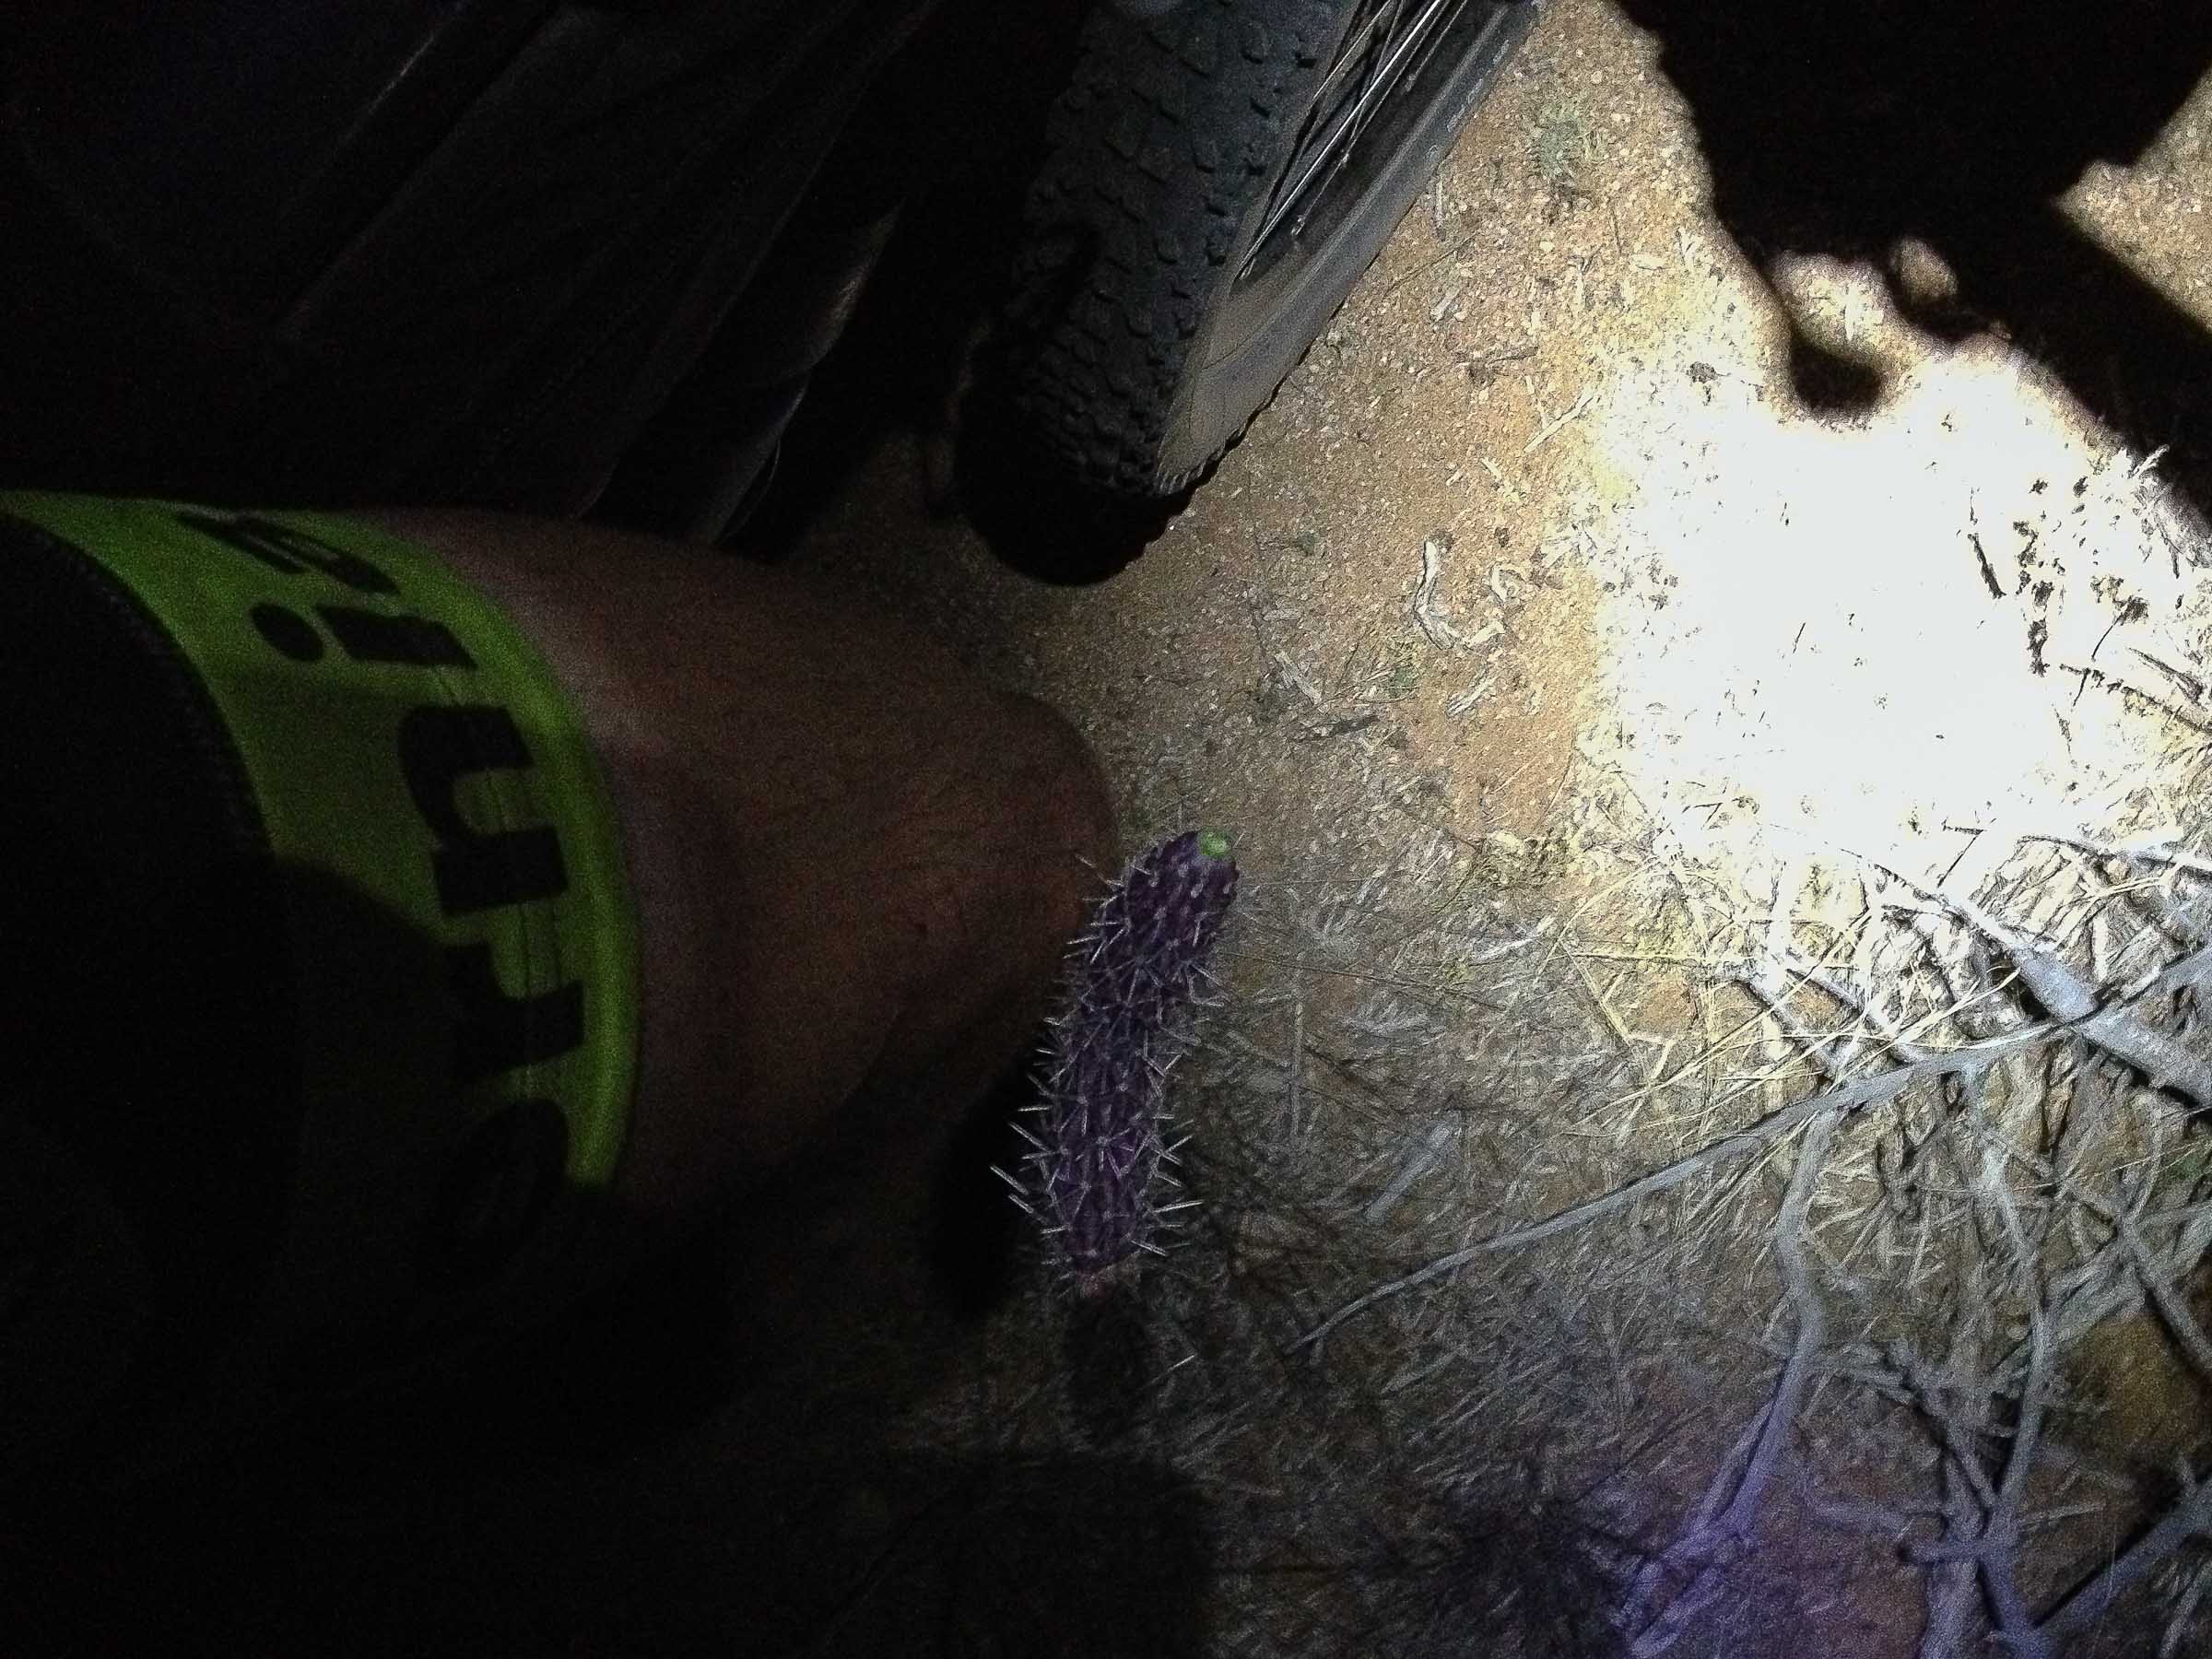
- Leatherman Squirt (with the pliers) for pulling out thorns, quills, and other sharp objects from your tires or your body (see below!)
Do you have some tips or tricks for a bikepacking repair kit you’d like to share? Let us know in the comments! For photos and lists of example repair kits, check out this article from bikepacking.com

Words by Cody Bond
Cody is a freelance writer who specializes in travel and outdoor adventure. When he’s not lost somewhere, he’s probably staring at a map wishing that he were. Find him on Instagram @the_tattered_atlas.
The irrigation syringe is such a critical piece. But remember, it needs water to work. So don’t go filling all your bottles with sports drink. Save one with plain water as long as you can.
Right on James, great point. I like to pack my sugar in gummy bear form, leaving water for the water bottles
Areas heavy with cactus, a comb works wonders to get cactus out of skin or anything else
Great tip Nick! AZTR we’re looking at you…
So can sandpaper from a tube patch kit–especially the tiny thorns you can’t see.