
How to Make a Beer Can Stove; the Most Durable & Hot Burning That We Tested
January 3, 2020
BEER CAN STOVE - OPEN JET DESIGN
After testing a half dozen beer can stoves on the trail we boiled down our favorite to the open jet alcohol stove. We liked how fast this stove boiled water, the aesthetics of the jet flames, and its durability. Durability was especially important to us as these stoves take a lot of abuse while bikepacking. Below you’ll find step by step instructions on how to make your own.
This open jet alcohol stove is a double wall beer can stove that creates flames from jets around the stove’s perimeter. Fuel is poured into the center fill hole and flows underneath the gap below the inner wall into the inner chamber. Once primed, the boiling fuel within the chamber becomes vaporized and pressurized. The jets around the perimeter are ignited by flames emitted from the fill hole. This tutorial was adapted from information found on backpackinglight.com, and hammockforums.net.
PARTS LIST
- Three local beer cans
- Dremel with metal cutting bit
- Safety Glasses
- JB Weld
- Needle nose pliers
- Scissors
- Tin snips
- Sewing needles
- Razor blade
- Book (to hold razor blade)
- Masking tape

Step 1

Step 1

Step 2
Step 3

Step 4

Step 4

Completed Top
1. CREATING THE TOP
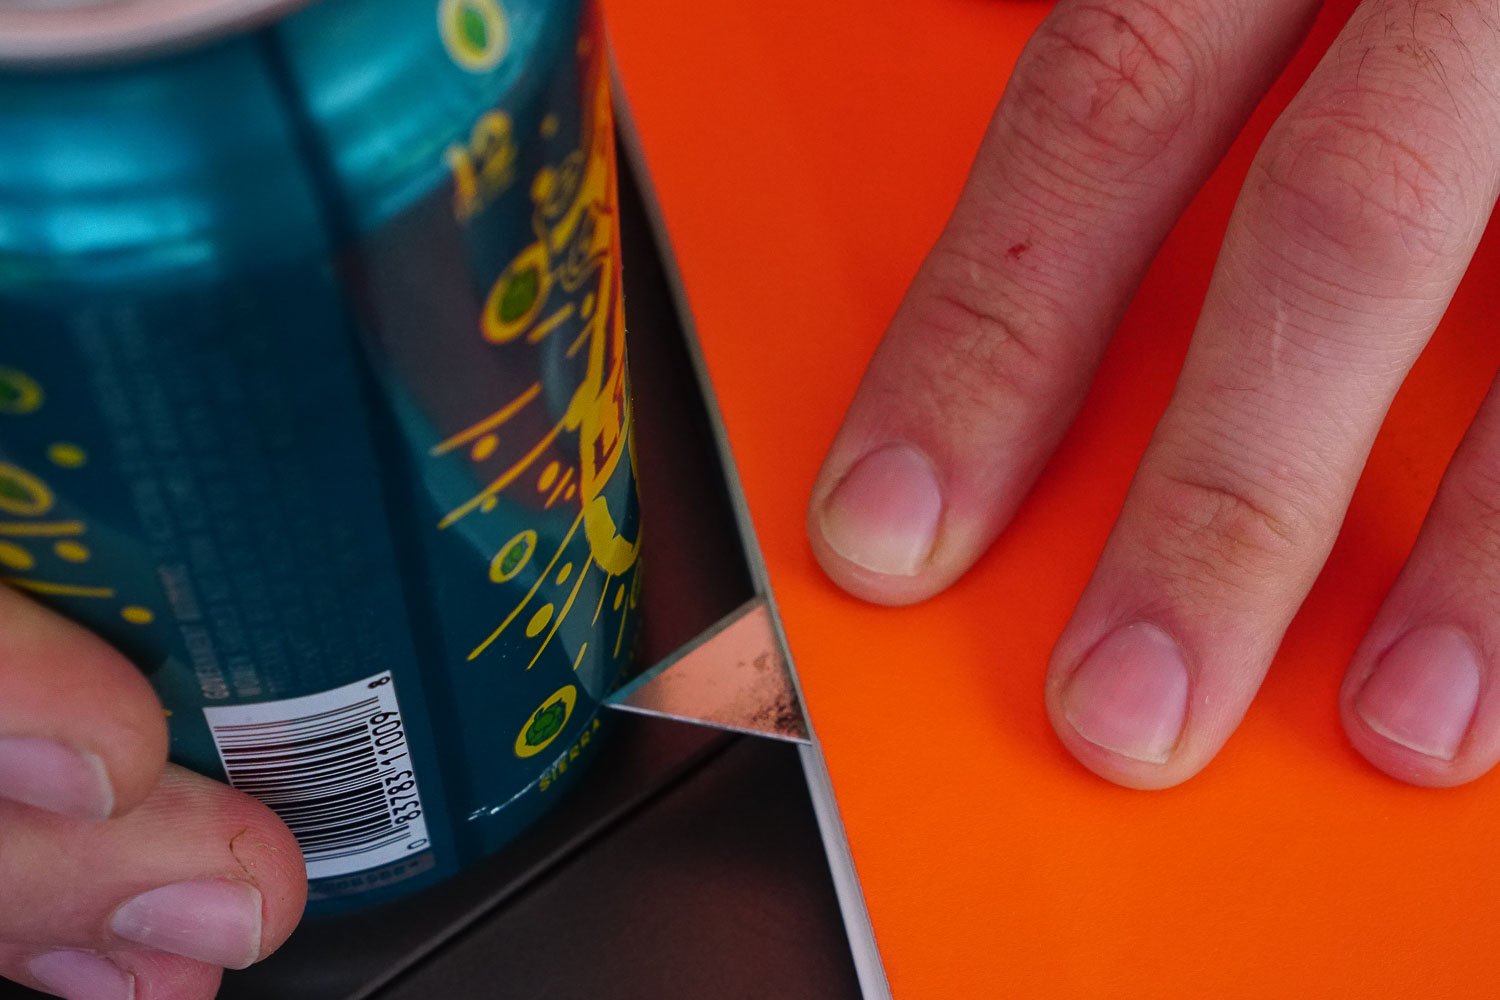
Step 1: Using the metal cutting bit, cut off the inner circle section of the bottom of the can (while wearing eye protection).
Step 2: Using a sewing needle (or thumb tac) and needle nose pliers, punch the jet holes in the middle of the crease along the perimeter of the can’s bottom. It’s recommended to use 16 holes. The number and size of the holes is a balance of fuel efficiency versus boil time. The more holes the faster your water will boil; the fewer holes the more efficient your fuel consumption will be.
Step 3: Place a razor blade in a book approximately 3/4″ above the table and score a line on the can.
Step 4. Cut into the can with tin snips, spiraling down to the score line. Once close to the score line position the bottom of the can facing to your right and use the scissors for a precise cut along the score line.
2. CREATING THE BOTTOM
Step 5: On the second can, use the razor blade and book to score a line around the can. The taller your stove the more alcohol it can hold and the longer your stove will burn. A height of 1″ to 1.25″ is a practical size for boiling water for 1-2 dehydrated meals.
Step 6: Use the tin snips to cut down to the score line, then use the scissors to precisely cut along the score line. Just as you did in step 4.
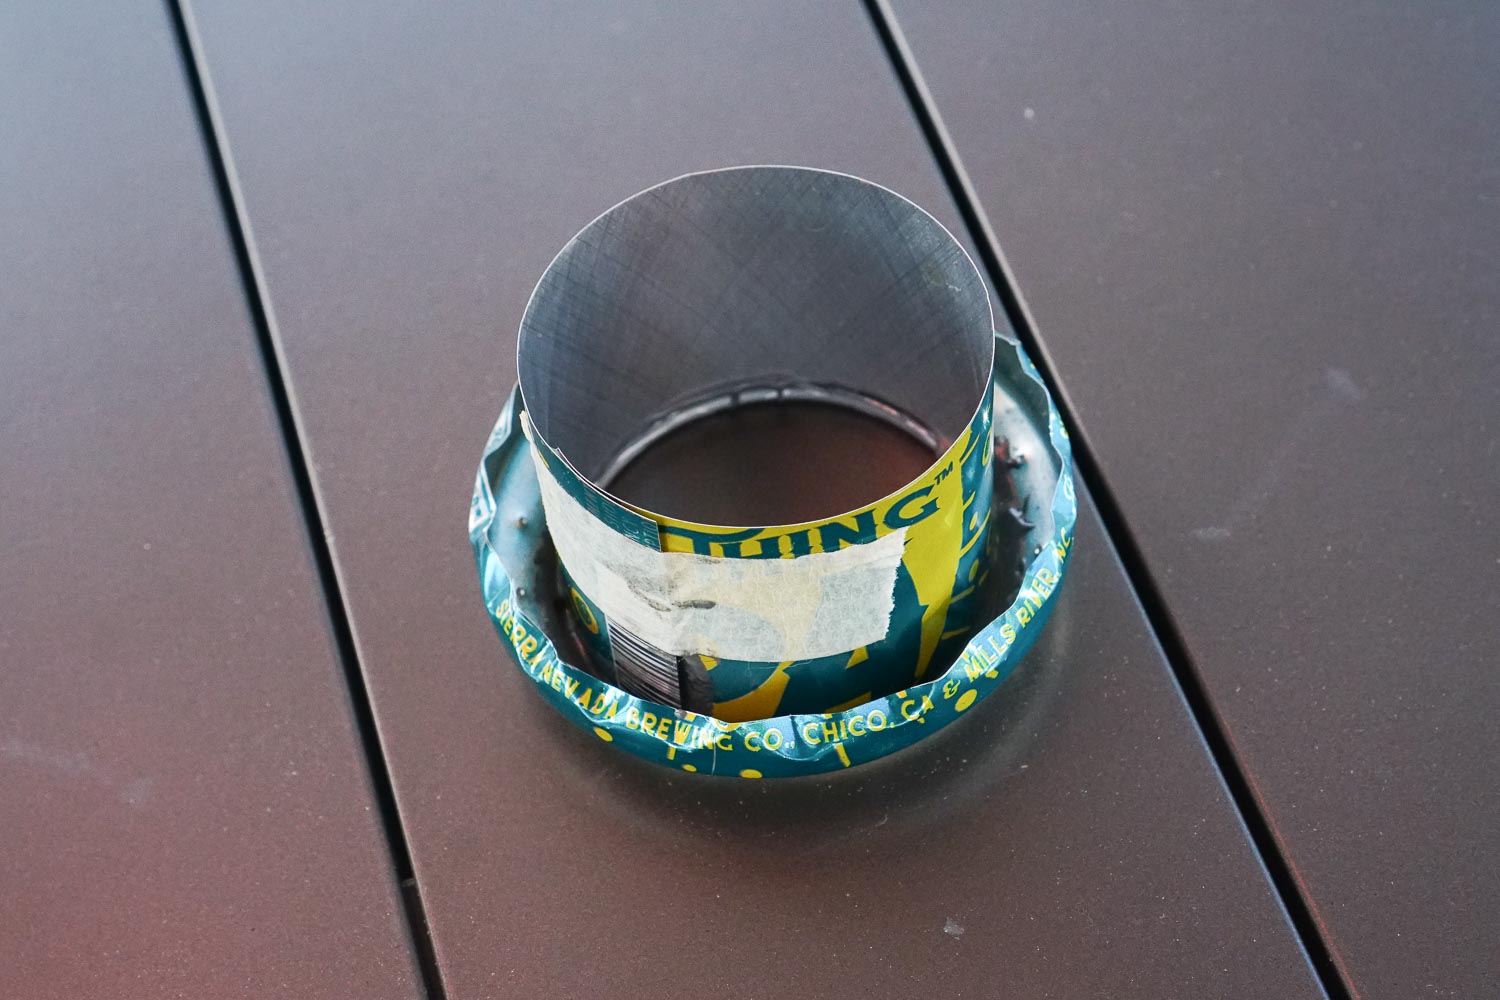
3. CREATING THE MIDDLE SLEEVE
Step 7: Use the needle nose pliers to bend the edges of top piece inwards. Slowly insert the top half into the bottom half until the wall of the top piece is completely inside the bottom half.
Step 8: Using the third can, create a rectangle of tin with a uniform edge on one side. To do so, score a uniform line about 1″ from the bottom of the intact can. Using the tin snips, cut straight down the can, perpendicular to the score line. Then with the bottom of the can to your right, cut with the scissors along the score line. Cut the top of the can away to create the rectangle sleeve.
Step 9: Place the inner sleeve inside the assembled top/bottom piece, with the uniform cut edge of the inner sleeve all the way at the bottom of the stove. Score a line to at the top of the stove to mark the top of the inner sleeve. Remove the sleeve and cut along the score line.
Step 10: Notice how the inner sleeve curls in on its self and overlaps. Trim the inner sleeve so there is about 1″ over lap when rolled inside the stove.
Step 11: Disassemble the bottom and top half. With the top half upside down, place the inner sleeve inside the groove on the top half and tape the sleeve’s edges together (on the outside of the sleeve). This will hold the sleeve together while you apply JB Weld to the over lap from the inside.
4. BONDING THE STOVE TOGETHER
Step 12: Mix JB Weld together on a piece of discarded can. Using a razor blade, or toothpick, apply JB Weld to the full length of the underside of the 1″ overlapped seam on the inner sleeve.
Step 13: Apply JB Weld to the full circumference of the underside groove on the top half. Be careful not to cover up the jet holes.
Step 14: Insert the inner sleeve into the top half and slowly twist the sleeve along the top half’s groove to insure complete sealing with the JB Weld. Let this dry overnight and then remove the tape from the inner sleeve.
Step 15: On the bottom half of the stove, apply JB Weld to the full circumference of the inner wall. Nest the top half/inner sleeve assembly inside the bottom half. Let the JB Weld completely dry before use your beer can stove.

Step 5

Step 7

Step 9

Step 12

Step 12

Step 13
Step 14

0 Comments